

Flexo Printing Machine Solutions to Improve Print Quality and Production Speed
2026-11-16
Ask most flexo operators what happens when they push for higher production speeds, and they'll tell you the same story: registration drifts, dot gain creeps in, and waste shoots up. That trade-off used to be unavoidable. Recent advances in flexo printing machine design are changing that. From servo-driven tension control to smarter drying and real-time defect detection, the right upgrades can boost both print quality and output. In this post, we'll unpack those solutions and show how HuiPeng integrates them into practical, production-ready systems. If you're ready to stop choosing between speed and quality, read on.
How anilox roll choices change ink coverage at higher speeds
At higher press speeds, the contact window between anilox and plate shrinks dramatically. Ink has less time to shear and release from cells. Roll choices that work at 300 fpm often starve the print at 800 fpm. Shallower cells with higher line screens, like 800–1000 lpi, may deliver a clean tint but lose density because there isn’t enough dwell time for complete emptying. Deeper, lower line count rolls hold more volume but can trap ink in the cell bottom; at speed, the ink film splits unevenly, leaving a mottled or grainy solid.
Cell geometry becomes the deciding factor. Open, elongated cells with sloped walls release faster than steep-walled hexagonal cells because capillary action works against you when the anilox surface leaves the plate quickly. Some converters switch to channeled or tri-helical engravings for high-speed solid coverage, accepting a slight loss in edge definition to keep density consistent. Others run a dual-roll strategy: a low-volume, high-line anilox for fine text and screens, and a larger-volume roll with a release-friendly wall angle for heavy solids. The key is matching cell volume and wall geometry to the ink’s rheology, not just its viscosity reading, because shear rates at speed change how the ink behaves in the nip.
The plate mounting fix that stops repeat length drift
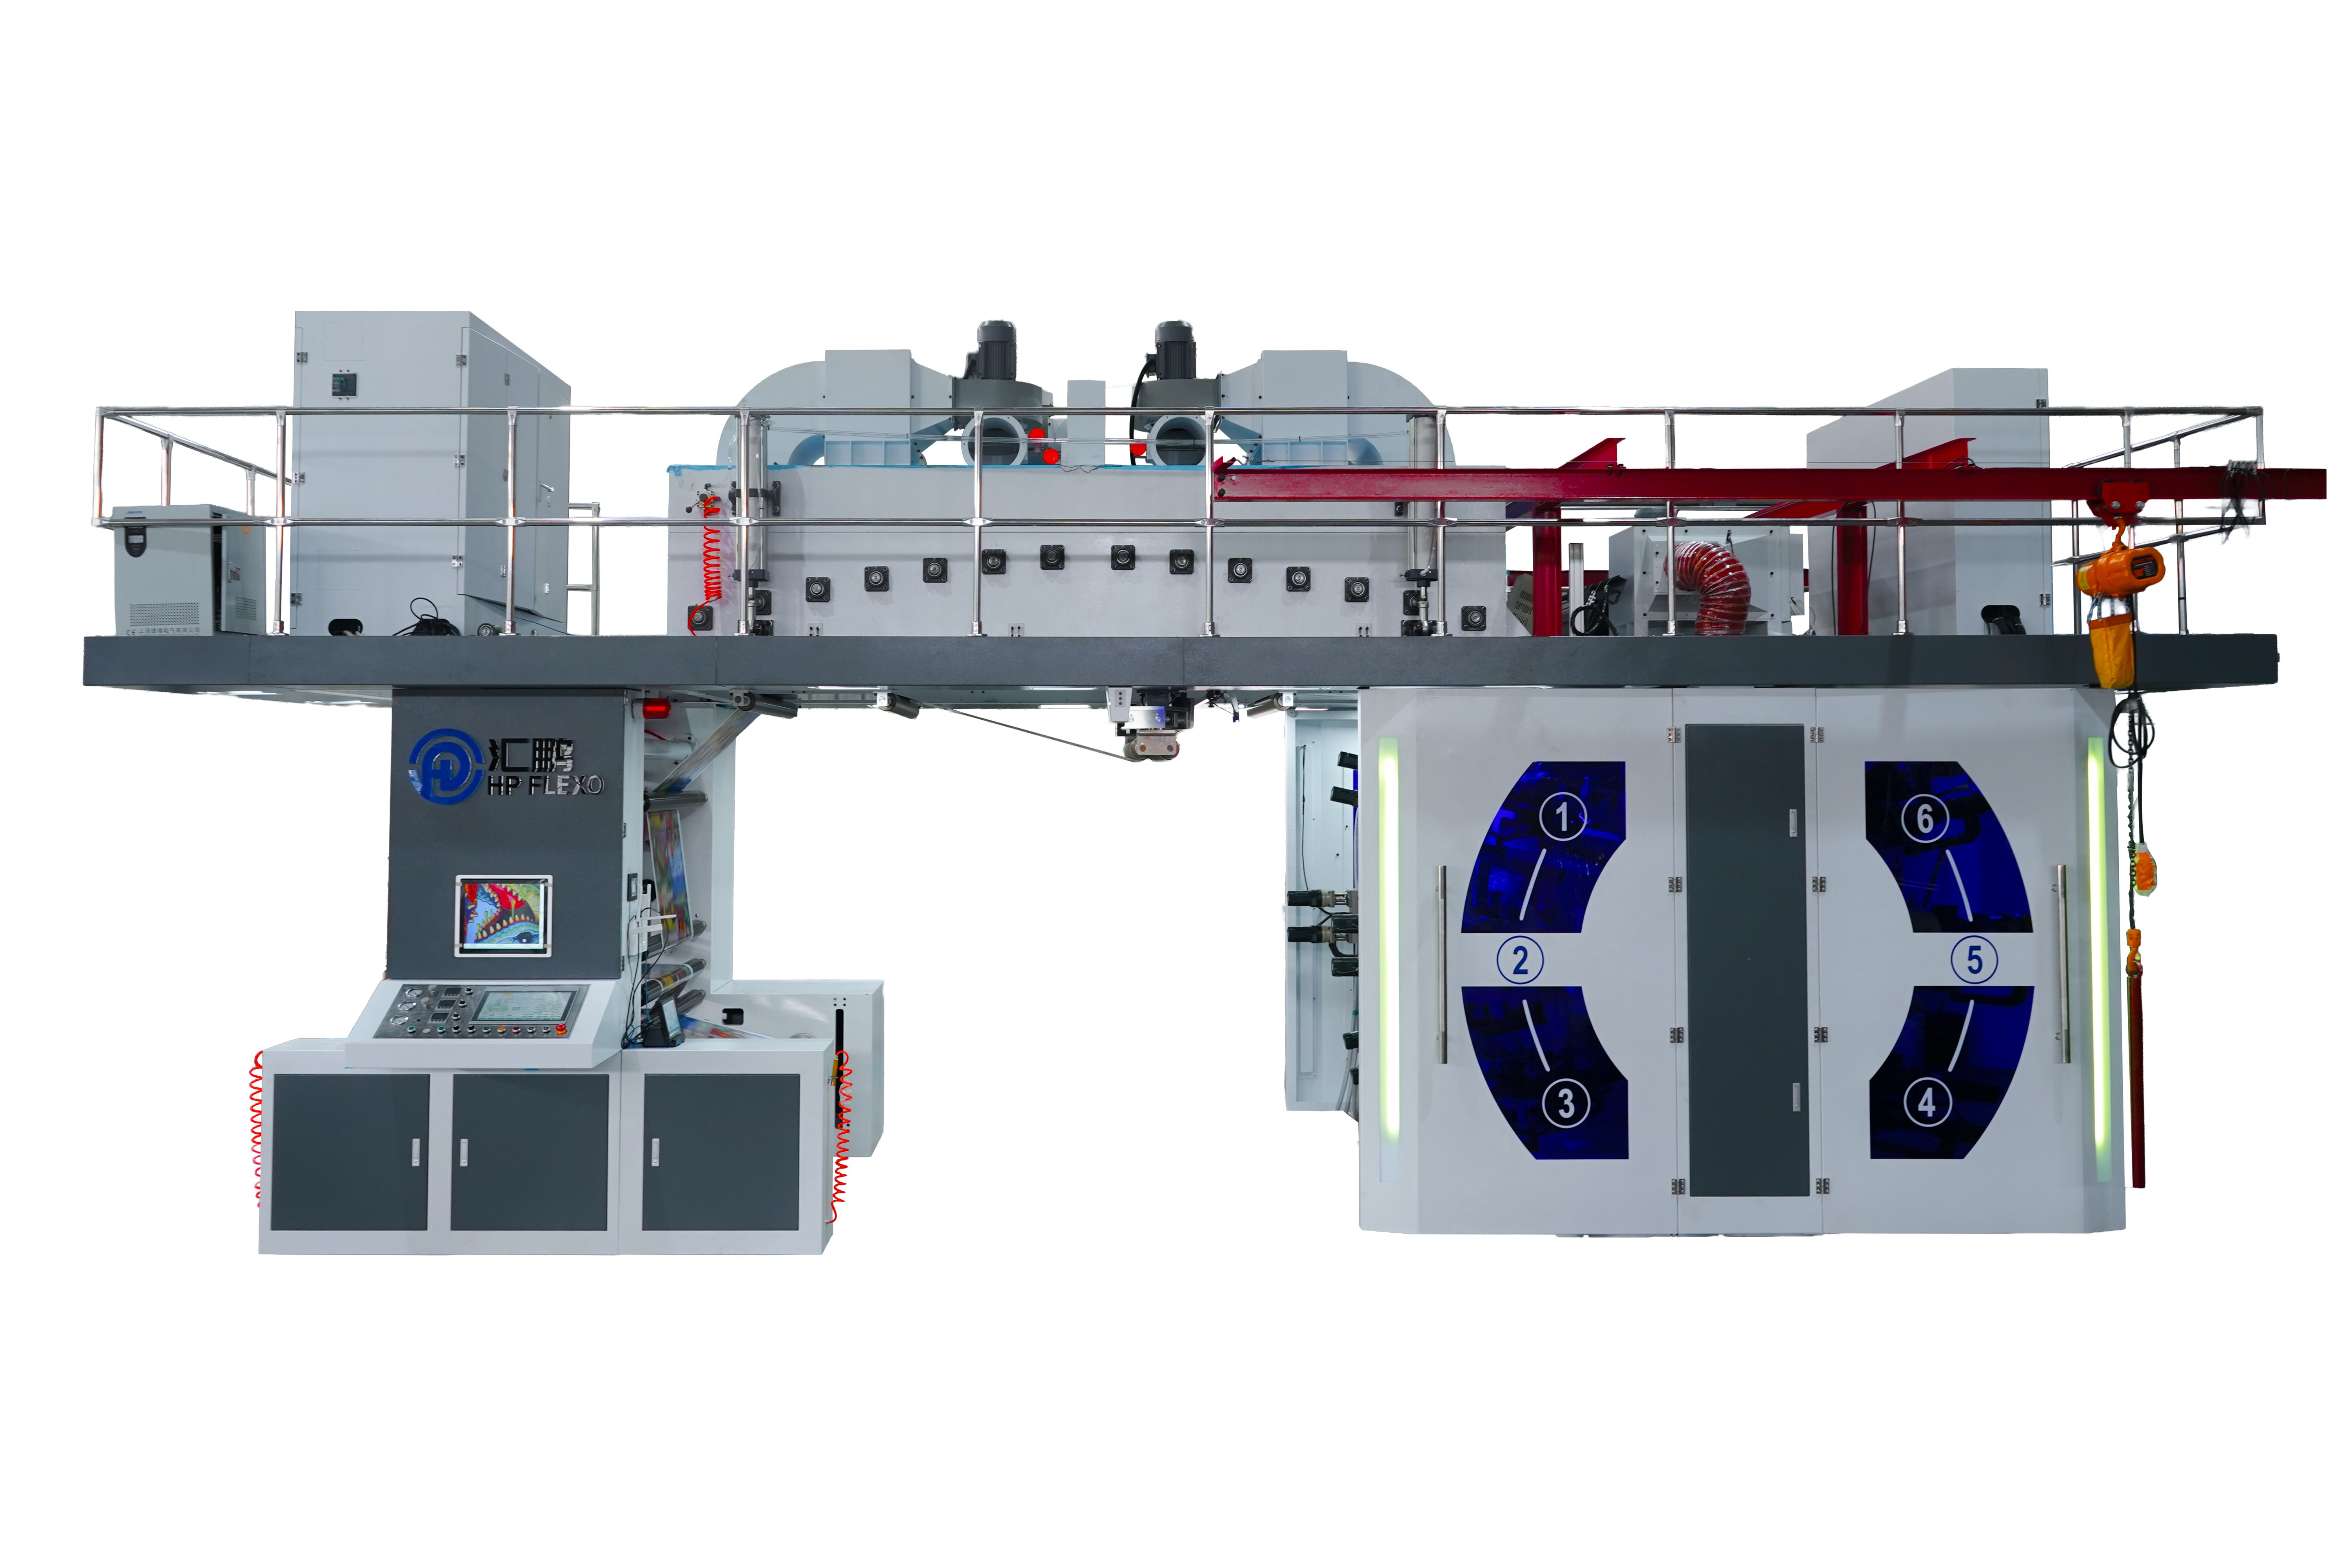
Repeat length drift is rarely a press tension problem. In most cases, the plate shifts microscopically at the mounting interface. Standard foam tapes compress under nip pressure and recover unevenly, which lets the plate edge creep forward a few microns on every revolution. By the end of a long run that turns into visible register error.
The most effective fix is to replace soft double-sided foam with a firmer, low-shear mounting tape and add a positive mechanical stop. Pinning the plate against a register bar or using a sleeve with dedicated pin holes removes the freedom for movement that tape alone cannot control. Torque the cylinder or sleeve to spec after mounting, and inspect the plate edges for burrs before locking the clamps.
After switching to this approach, press crews typically see repeat length hold within ±0.05 mm across the full run, including after splices. The plate stops acting like a separate layer and starts moving as part of the cylinder. That stability is what finally stops the drift.
Why ink viscosity and pH checks belong before every shift
Ink is the lifeblood of any print run, yet it rarely behaves the same way two days in a row. Temperature swings overnight, evaporation from open containers, and even the age of the batch can shift both viscosity and pH. When these values drift outside a narrow window, the press shows symptoms gradually — fuzzy halftones, uneven solids, or ink that refuses to transfer cleanly. Checking them before the first job means you catch those small changes before they turn into wasted substrate and a mid-shift scramble.
Viscosity controls how the ink flows through the anilox or plate, while pH affects drying time, adhesion, and how pigments stay suspended. One without the other gives a false sense of security: runny ink with correct pH still floods fine reverses, and thick ink with low pH can dry on the plate or cause piling. A quick dip with a viscosity cup and a calibrated pH meter takes five minutes, but it replaces guesswork with a repeatable starting point. That consistency is what keeps the first impression as sharp as the last.
Skipping the morning check often means fighting the press later, chasing adjustments that should have been made with a small addition of water or a pH adjuster before anyone hit start. It is not about following a rule for the sake of paperwork — it is about respecting the fact that ink is a moving target. A shift that starts with known numbers ends with fewer stops, less rework, and a crew that trusts what is in the bucket.
Dryer settings that keep speed without smearing the print
For fast runs on coated stocks, start with a dryer temperature around 140–150°F and air velocity at 60–70% of maximum. The trick is to let the surface skin over without trapping solvent underneath, which causes smearing later. Run a quick test strip: if the ink still smudges on a thumb twist, raise the temp 5°F before you touch fan speed.
Avoid the common trap of cranking both heat and airflow at once. High airflow on a not-quite-dry surface just pushes wet ink sideways. Instead, drop the dryer hood a little closer to the sheet and keep the web speed steady—uneven velocity can smear even a properly set temperature. Watch for ink transfer on the delivery rollers; that’s your real signal to back off airflow, not add more heat.
If you’re running uncoated or absorbent stock, lower the temp to 120–130°F and rely on longer dwell time rather than aggressive airflow. Set the afterburner or exhaust damper to maintain slight negative pressure inside the dryer—this pulls vapor away without turbulence. A final no-smear check: run a blank sheet through and look for any ghosting or tacky spots on the back side before you commit to the full job.
Tension and substrate handling for wrinkle-free long runs
Getting tension right matters more than most operators expect. A roll that is wound too tightly will stretch the substrate microscopically, and once that tension releases during printing or coating, the material tries to return to its original shape, creating ripples and wrinkles. The sweet spot depends on the web width, thickness, and how much heat or moisture the substrate will absorb later in the line. Small, incremental adjustments at the unwind and rewind stations often do more for flatness than any downstream fix.
Substrate handling is equally critical. Edge guides that hunt or correction rollers that overcompensate can introduce lateral stress that shows up as diagonal creases halfway through a run. Keeping idler rollers clean, parallel, and spinning freely prevents local drag that pulls one side of the web tighter than the other. For long runs, periodic checks on bearing temperature and roller alignment pay off because subtle drift can accumulate into visible defects.
A practical habit is to log tension and alignment readings every shift, then correlate them with where wrinkles appear. Over time, you will notice that certain materials forgive slight tension swings while others demand near-perfect control from splice to splice. Running long without stopping is not about chasing a single magic setting; it is about maintaining a consistent mechanical environment so the substrate stays in its relaxed state from unwind to rewind.
Using real-time feedback to hold color and register steady
Real-time feedback turns color drift and register slip from slow discoveries into instant corrections. Instead of pulling sheets every few hundred impressions, operators watch live delta values for density, dot gain, and trap. When a unit starts to wander, the system flags it before the eye can see the shift.
The control loop tightens when feedback runs through closed-loop automation. Small adjustments to ink keys or water balance happen continuously, based on measured reflectance rather than guesswork. This keeps color within a narrower band and helps maintain register by catching plate or blanket movement early.
Operators still matter, but their attention shifts from chasing problems to monitoring exceptions. The steady stream of feedback means fewer rejected piles and less time at the console. Consistency becomes a process feature, not a daily battle.
FAQ
Higher speeds often mean more pressure on the plate because the web doesn't have time to release cleanly. The quickest fix is to reduce the impression squeeze and switch to a harder mounting tape. If the dot gain is still too high, check the anilox-to-plate setting; a mismatch there forces you to over-impress to get solid coverage.
Look for a hybrid or dual-channel engraving. It gives you a high line count for dots and deep cells for solids on the same roll. The extra cost pays back quickly if you're switching jobs often. Just remember that the ink formulation needs to match: shear-thinning inks work best with this type of roll.
They increase impression pressure to avoid plate bounce, which actually makes the plate wear faster and ruins halftones. Instead, balance the cylinders first at operating speed, not just during setup. Also, verify that the doctor blade is loaded evenly—uneven blade pressure at speed causes streaks that look like plate problems.
It's not overhyped. A compressible tape with the right density absorbs vibration at high speeds, reducing dot gain and plate cracking. For long runs on rough substrates, go one step harder than you think you need. Test with a 0.015-inch difference in tape thickness; it can cut down on bounce enough to let you run 20 percent faster.
At minimum, a deep clean every 100,000 linear meters, but if you're using high-pigment inks or running film, do it every 50,000. Plugged cells starve the plate and force you to use more ink, which slows drying and limits speed. Ultrasonic or soda blasting works better than manual brushing for the fine line counts.
Film doesn't absorb ink, so your drying system becomes the bottleneck. You can reduce ink film thickness by using a higher line-count anilox and increasing pigment strength. Also, check the static: film generates more static at speed, which causes mottling and misregistration. Adding active static control bars before each print unit helps more than adjusting tension.
Installing a closed-loop color control system, even a basic one, often reduces waste by half. But before that, upgrade the doctor blade chambers and add a web cleaner. Clean substrate and consistent ink delivery let you raise speed without seeing defects, while automation catches drift before it ruins a roll.
Run a test at your target speed with a very thin ink film—if defects disappear, drying is your bottleneck. Then look at air impingement before adding BTU: sometimes just repositioning the air nozzles closer to the web gives 15 to 20 percent more drying capacity. For UV, check the reflector condition; oxidized reflectors cut cure speed far more than aging lamps.
Conclusion
On a flexo press, the difference between a clean, high-speed run and a frustrating afternoon of waste often comes down to details that get skipped in the rush to start. Anilox selection is one of those details—run the same plate with a lower cell volume roll at higher speeds and you will see ink coverage thin out and solids go patchy. Pair that with a mounting job where tape is stretched unevenly or the plate is not settled properly, and repeat length starts drifting, forcing constant registration corrections. Before every shift, spending ten minutes checking viscosity and pH is not busywork; solvent evaporation and amine depletion change how ink transfers and dries, and guessing by feel leads to dirty print or pinholing. Dryers are the next lever: more heat looks like the answer to higher speed, but overcuring the surface while trapping solvent underneath creates smearing at the rewind. Balanced airflow and modest temperature settings keep the web moving without cooking the ink film.
The mechanical side matters just as much. On long runs, inconsistent tension or a worn idler introduces wrinkles that no amount of downstream correction can hide, especially on thin films or lightweight papers. Setting taper tension correctly from the unwind to the rewind, and making sure the substrate path is clean and parallel, keeps the web flat at any speed. Finally, the best operators stop chasing problems after they appear and start using real-time feedback—camera systems and spectral sensors that track color and register every few seconds. Small drift gets corrected before it becomes visible, and that means fewer stops, less scrap, and a machine that actually hits the production numbers the sales team promised. None of this requires a new press; it requires a tighter routine around the controls already in front of you.
Contact Us
Contact Person: Isaias
Email: [email protected]
Tel/WhatsApp: 86-13868693129
Website: https://www.hpflexo.com/